Robulus
How to Design & Build Your Own Robulus

Build Your Own Robulus
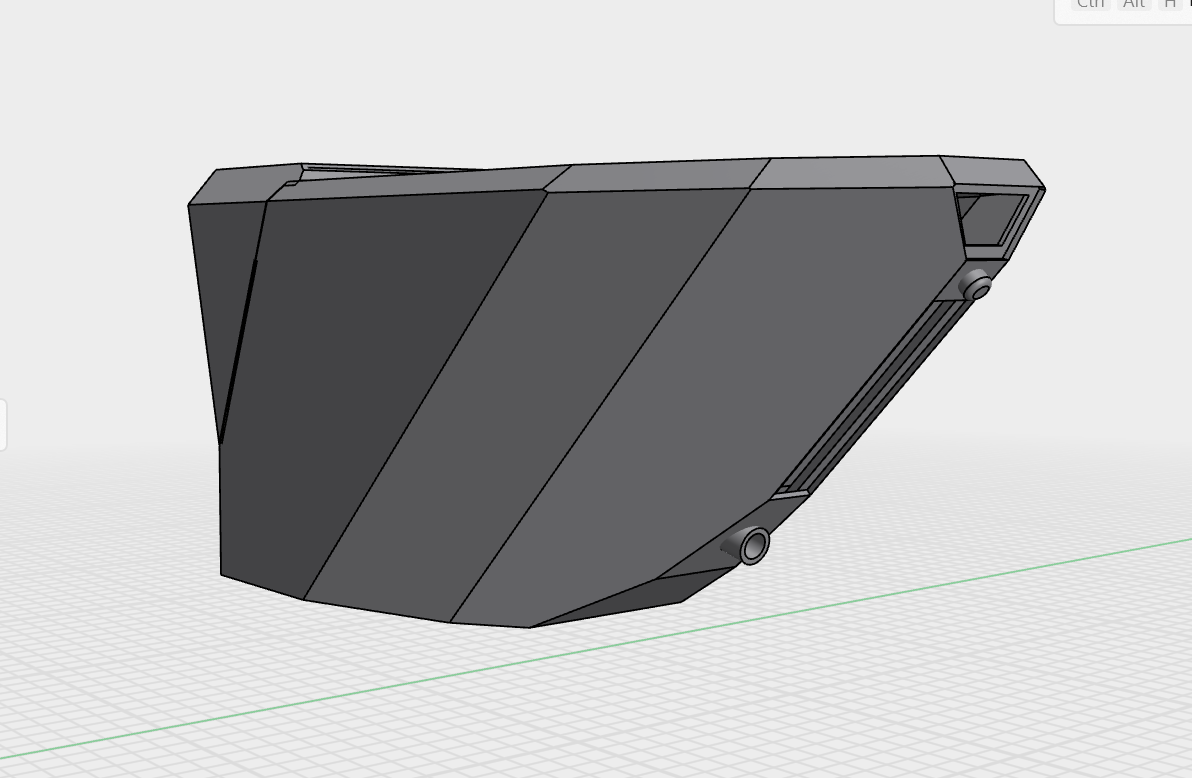
Design a 3D Model of Your Chassis
Create a custom body for your Robulus — optimized for the park's terrain and your own aesthetic.
You will need to print and assemble the body yourself. If you lack experience or access to a printer, you can find assembly help from enthusiasts at marketplace.juvantia.org.
The easiest tool to start with is 3D Sharp — intuitive enough to get a printable model within the first weeks.
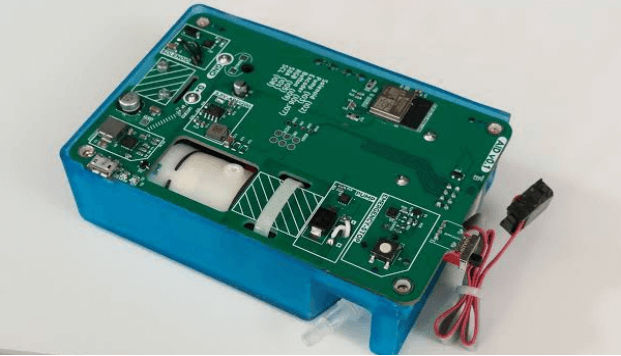
Get a Ready-made PCB or Build Your Own
The Cyber Brick Juvantia Edition PCB is designed specifically for the technopark, allowing deep customization and offering extensive expansion capabilities.
Custom builds must be based on the ESP32 S3 CAM module—the only supported platform for connecting to the park’s Wi-Fi networks.
⚠️ NO HAND-SOLDERING: The technopark only accepts PCB-based designs to ensure long-term reliability and maintainability. Robots with direct-wired components will not be admitted.
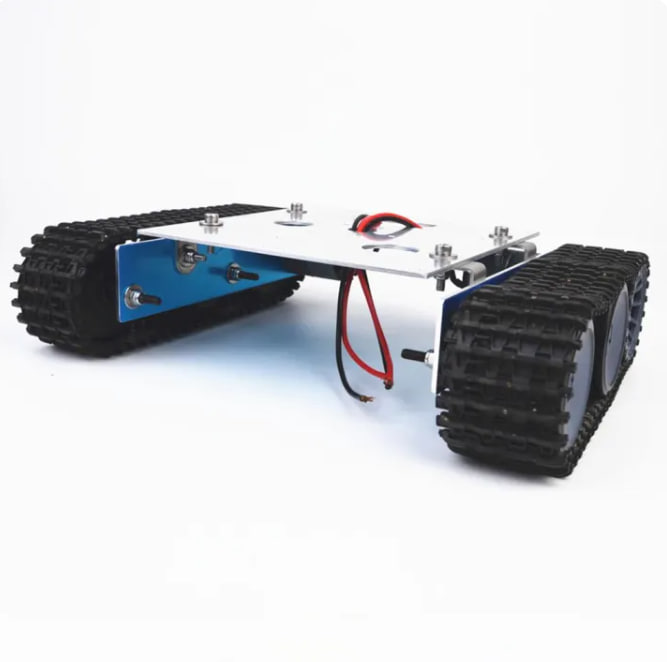
Buy a Ready-made Platform or Build Custom
You also have the option to create a completely bespoke platform with any custom equipment and hardware you desire.
Batteries are optional: You don’t have to ship batteries with your robot, as the technopark can provide its own. This simplifies air delivery, which often restricts large lithium batteries.
How It Will Work
Buy or Build Your Own
Buy ready-made kits or build your own one.
Flash the Firmware
Use the Fabrica service to install the firmware directly from your browser via USB.
Send by Parcel
Ship your Robulus to our European location (TBD).
Control in JUVANTIA
Operate your robot remotely inside the open-air park.